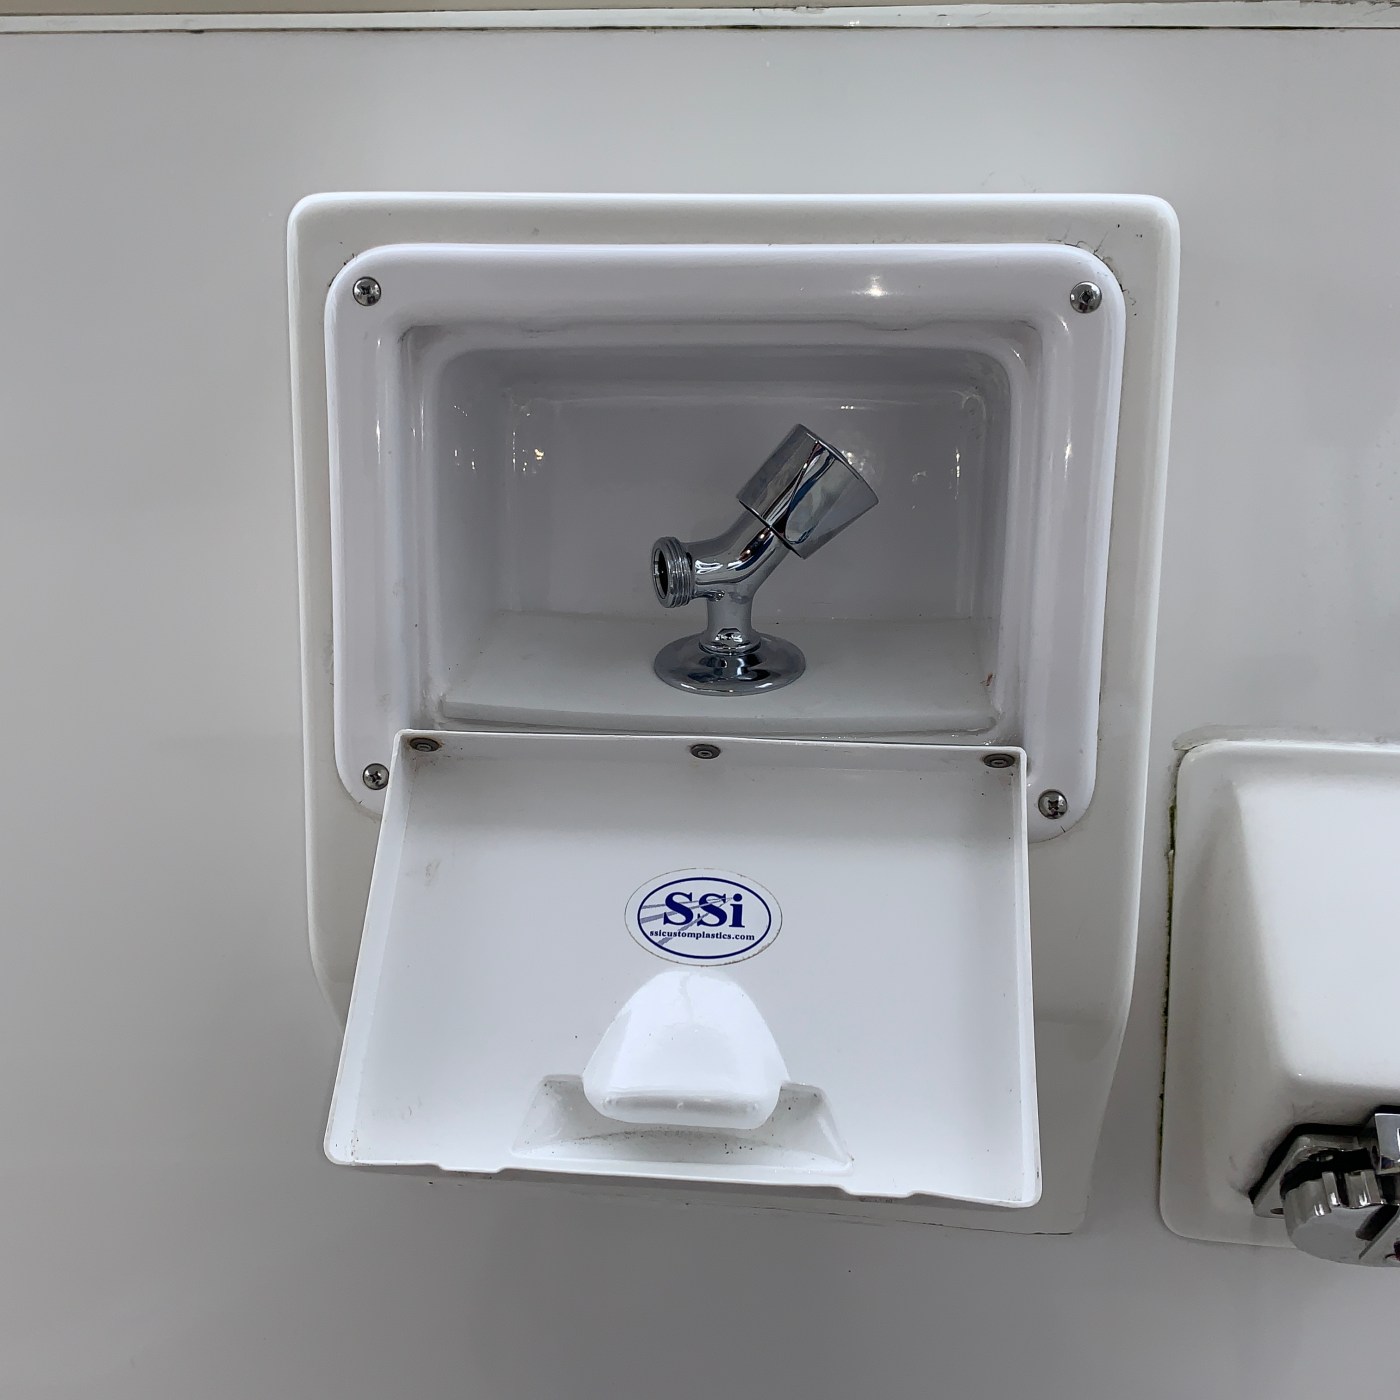
Fiddler came equipped with a hot/cold handheld shower installed in the transom. I didn’t think I would ever need a warm shower outside and I have never seen others showering outside either. It was a wasted item for me, plus it leaked. The way it was installed prevented easy access to fix the leak so years ago I capped the water lines and shut the valves off, never using the shower.
What I needed was a fresh water spigot easily accessed from the stern of the boat. It has one located at the bow, but running a long hose aft wasn’t really practical. Sand, dirt, and other debris seem to accumulate in the cockpit over the course of a trip and being able to easily wash it down made sense. And now with Moby along for the ride, the cockpit will likely get dirtier faster. And when he has to go, I can flush it overboard with a quick rinse. So I decided to replace the shower with a spigot.
Removing the shower was not easy, nor pretty. The shower box must have been glued in using a permanent, non-removable adhesive, then screwed on for good measure. It wasn’t coming apart. But I was able to rip the shower wand and water mixer out.

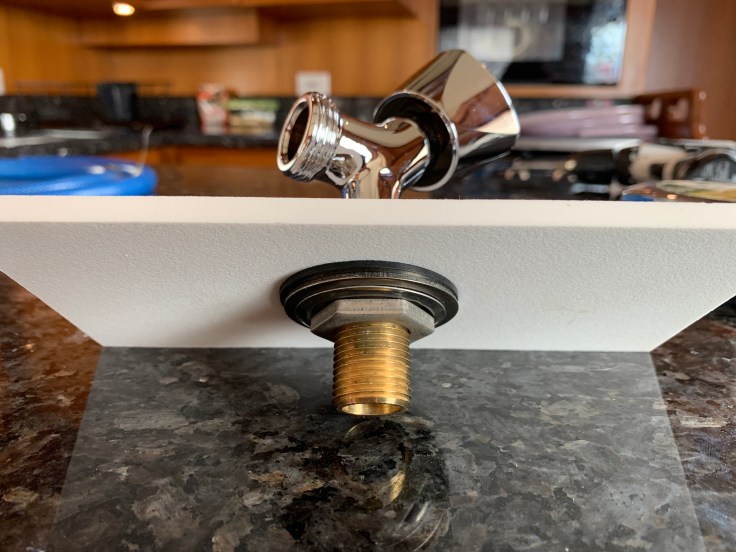
I cut a piece of Starboard to fit the bottom of the box, to which I would attach the spigot. It was an easy task, after three trips to Fisheries, to assemble the fixture, attach the cold water hose, test for leaks, then glue it in (using a non-permanent adhesive).


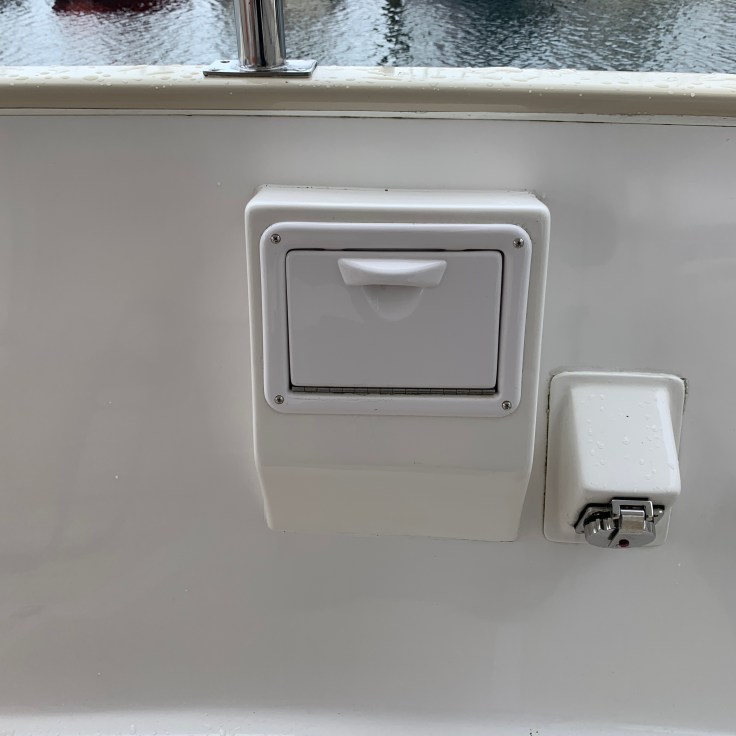
After a couple of days to let the adhesive cure, I finished the installation by sealing the edges to keep water out.


I think the project turned out very well, and now I have water available to hose down the cockpit, and Moby when he needs it.

You are a man of so many talents!
LikeLike