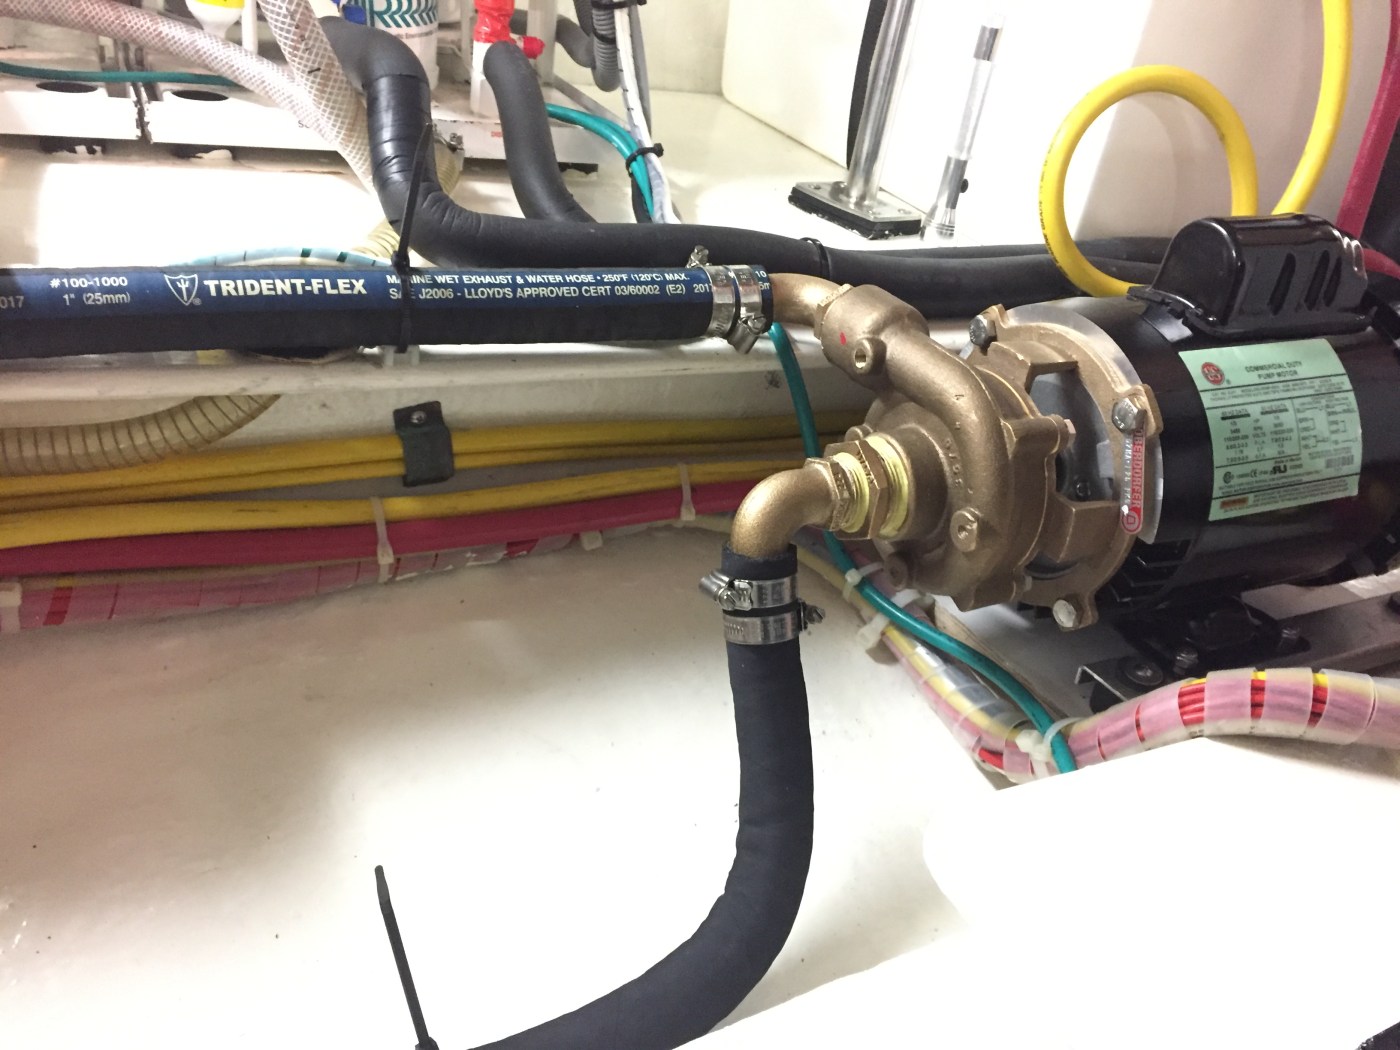
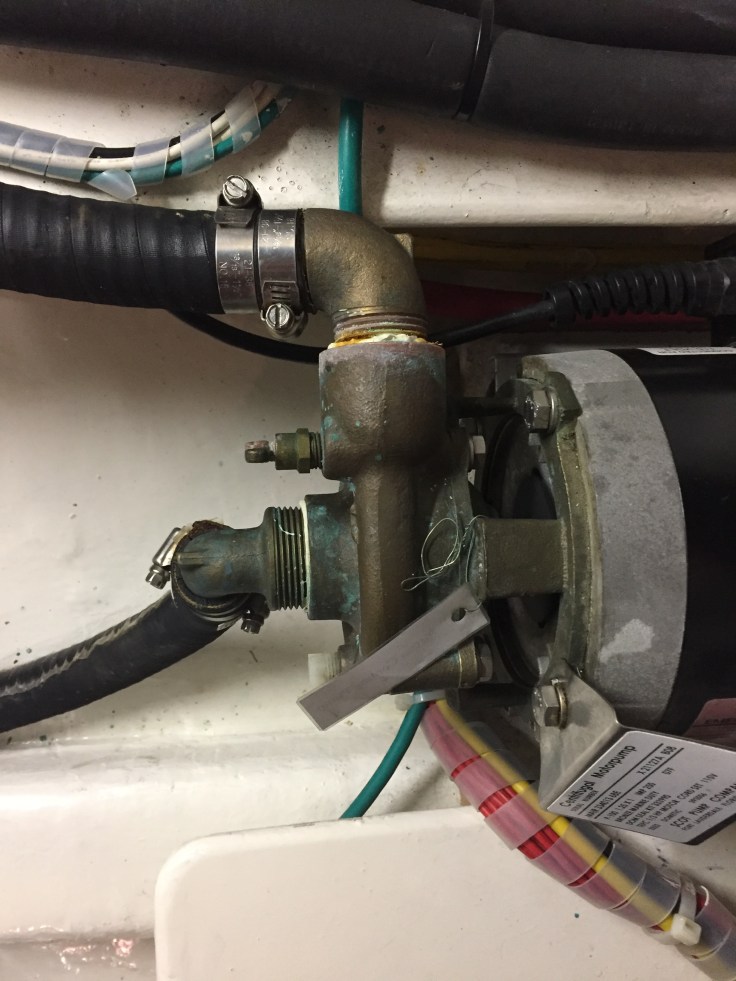
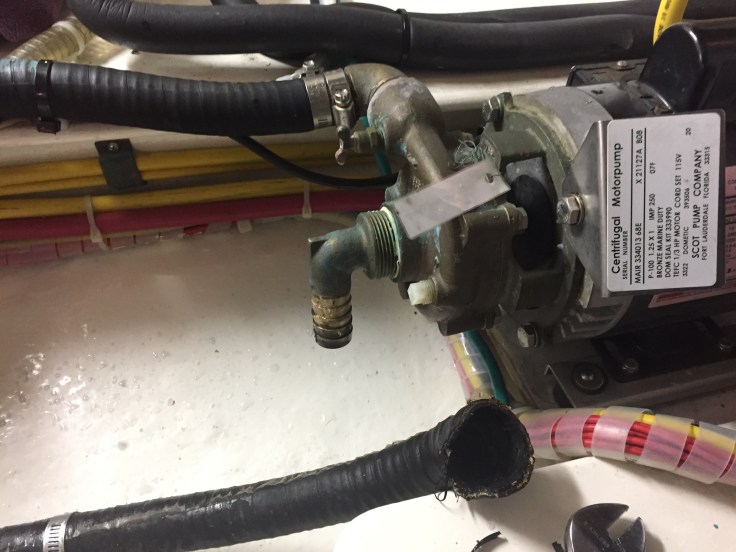
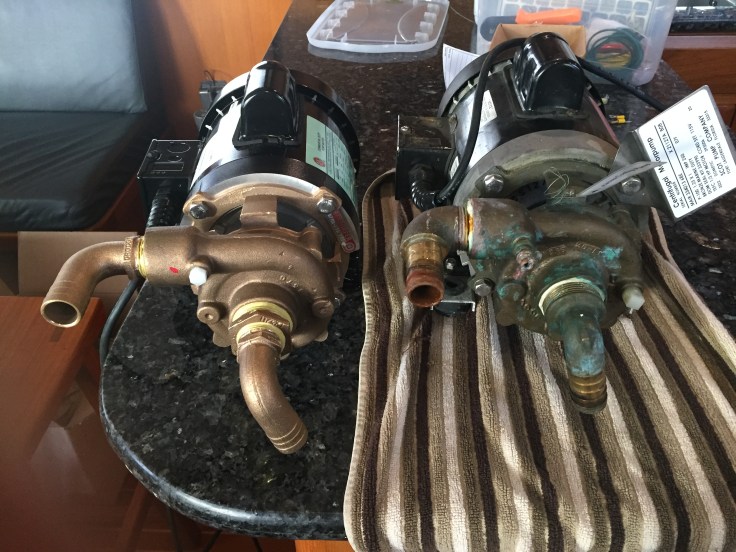
With the rainy and windy weather, I have plenty of time to work on projects. This week I replaced the cooling pump and raw water hoses attached to it. The cooling pump draws sea water and pumps it through the three reverse cycle AC/heat units, then over the side. It was showing signs of corrosion on one of the fittings that could cause it to eventually fail. The hoses are seven years old and could have lasted awhile longer, but removing them from the pump required destroying three inches at each attachment point in order to get them off. Then they wouldn’t be long enough, so I replaced them.
Step one, close the raw water intake, shut off the power, disconnect the electrical, remove the hoses, and remove the pump. The pump’s electrical connection is three wires: positive, negative, and ground, pretty straightforward.


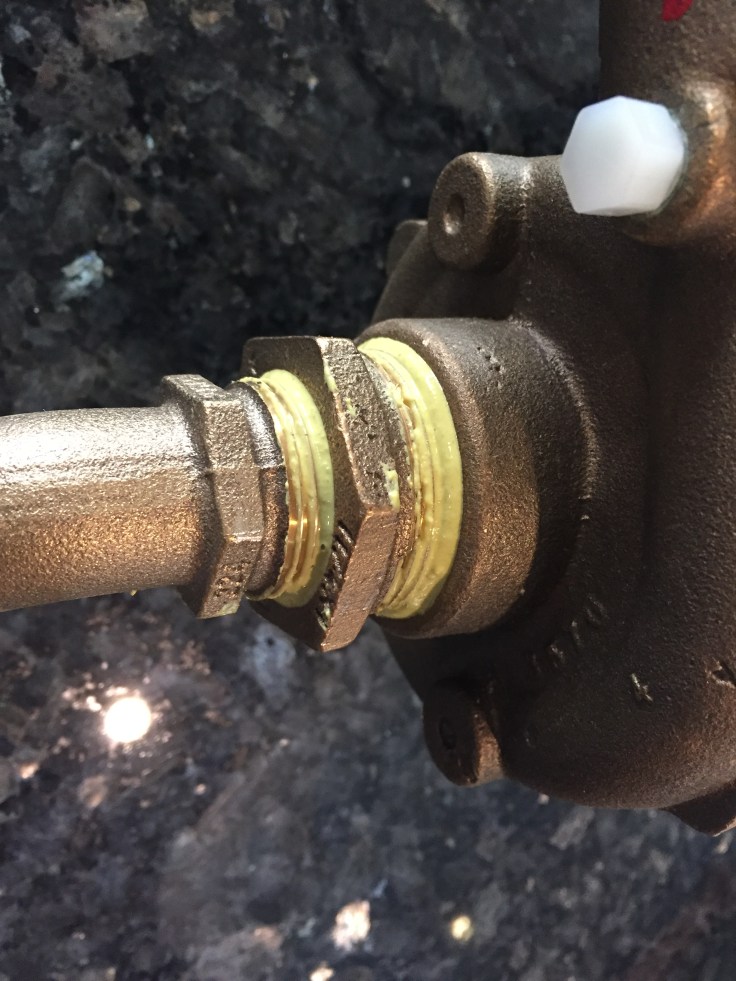
Next, I prepared the new pump for installation. This included attaching one inch bronze fittings for the hoses and rewiring the motor from 230 volt operation to 115 volt operation.


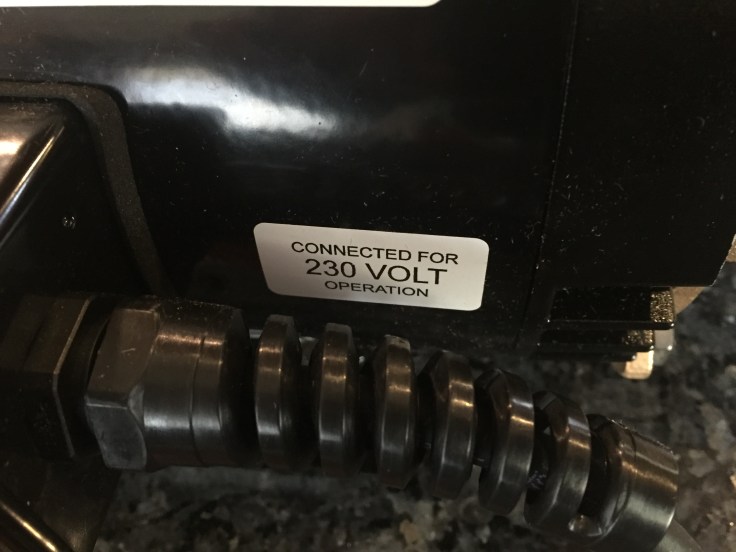


Surprisingly, the new pump was also wired with wire nuts, which are not acceptable for marine use due to the risk of vibrating loose. While rewiring to 115 volt operation, I replaced the twist-on wire nuts with appropriate wire connectors.
Now to put it all back together. The old hoses were held on with clamps that were perforated and beginning to corrode. As I replace hoses, I also replace the clamps with solid, higher grade stainless steel clamps that should hold better and last longer. All sea water connections should be double clamped as well.


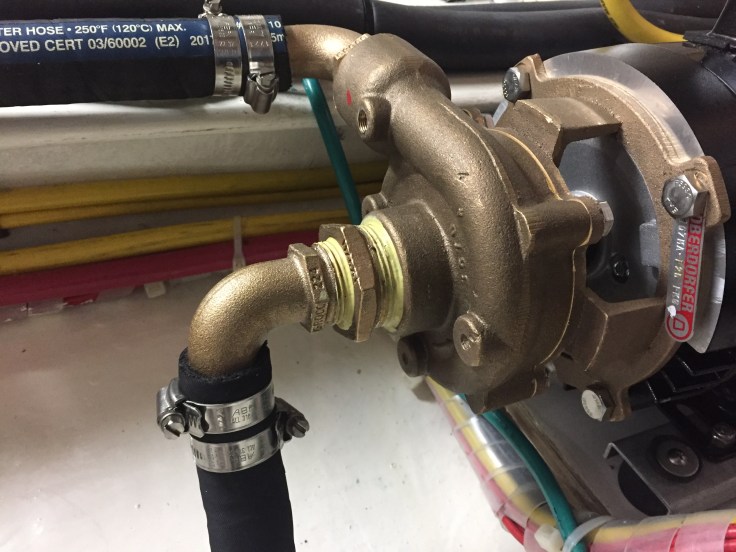


With the installation complete, the only thing left to do was turn on the breakers and fire it up.
It works perfectly with no leaks! This system should be good for at least another seven years.
