This is very exciting! We use the powerful wash down pump to spray the mud and debris off the anchor and chain when it is retrieved. If we didn’t do that, the mud and debris would get all over the bow and collect in the chain locker that is located at the head of our bed and become foul smelling after a short while. There is a dedicated water spigot located on the bow next to the anchor, making it very convenient to use, when it works. Ever since we have had Fiddler, the original wash down pump has worked intermittently at best. Lately the pump would start off at the regular flow, then suddenly blast the spray until it tripped the breaker and shut down. I cleaned the pump, replaced the pressure sensor, and hit it with a hammer. Nothing worked. I finally gave up on the original pump and replaced it.
Here is a picture of the original pump. The water supply enters on the left through a check valve, through the pump, through another check valve with a pressure sensor, then out to the water line and up to the spigot on the bow. The check valves prevent the water from flowing backward, keeping the pump primed. It is a 12 volt pump and the battery connections are next to the pump which are energized and protected by a circuit breaker in the breaker panel. In this picture you can also see the fuel manifold and the black hose that connects two ports. Those are for attaching a fuel transfer pump to manage the fuel level in the four tanks. I have not found a need for this yet, but I don’t need the long hose getting in the way. Not sure why it was set up that way. I shortened it to get it out of the way while working on the pump replacement. The green copper water line also impeded the the use of three valves on the manifold. I resolved that issue as well.
Here is a picture of the original pump removed and the fuel hose shortened to an appropriate length.
Plumbing has been made exponentially easier with the use of PEX lines and push-to-connect fittings, such as those made by Sharkbite. These fittings will also easily connect a PEX line to a copper line. After cutting the PEX to the needed length, the ends are inserted into a tool that slightly bevels the edge and inscribes a line to show how far to push the fitting on. It must go in all the way or it will leak.


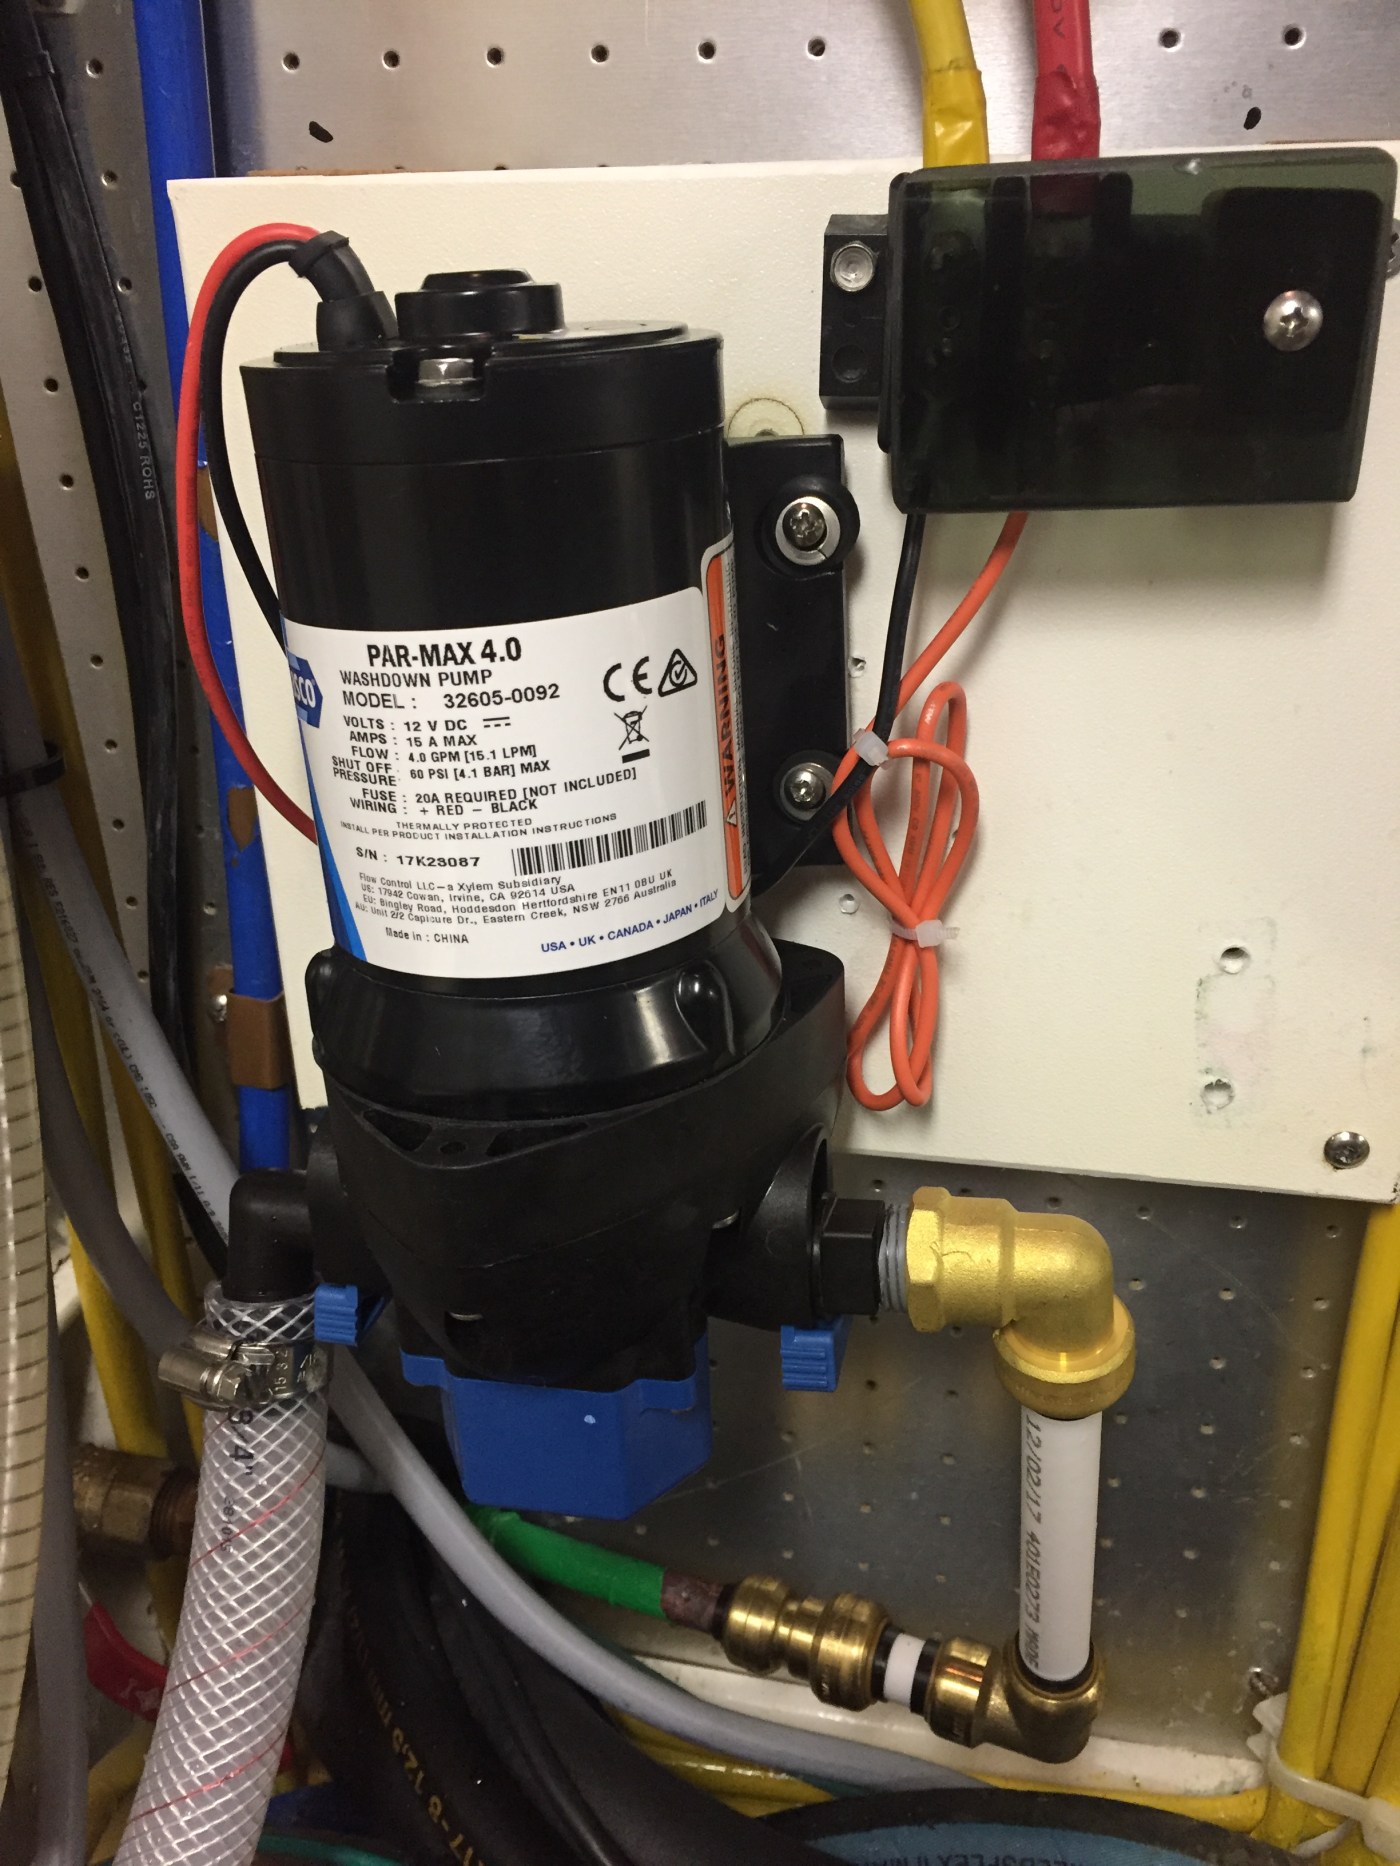
Here I have mounted the new self-priming pump, connected the water intake line, and attached the outflow fitting on the pump. I assembled the new water line and attached it to the pump. One minor issue is that the pump outflow port is 1/2″ and the copper water line is 3/8″. I could not find an elbow fitting that reduced from 1/2″ to 3/8″, so I used a reducing coupler after the lower elbow. I am now ready to cut the copper line and attach the new pump to it.


With a simple cutting tool that works with PEX and copper, I shortened the copper line to the appropriate length and simply pushed the connections together.


And now I have a wash down pump that works!

